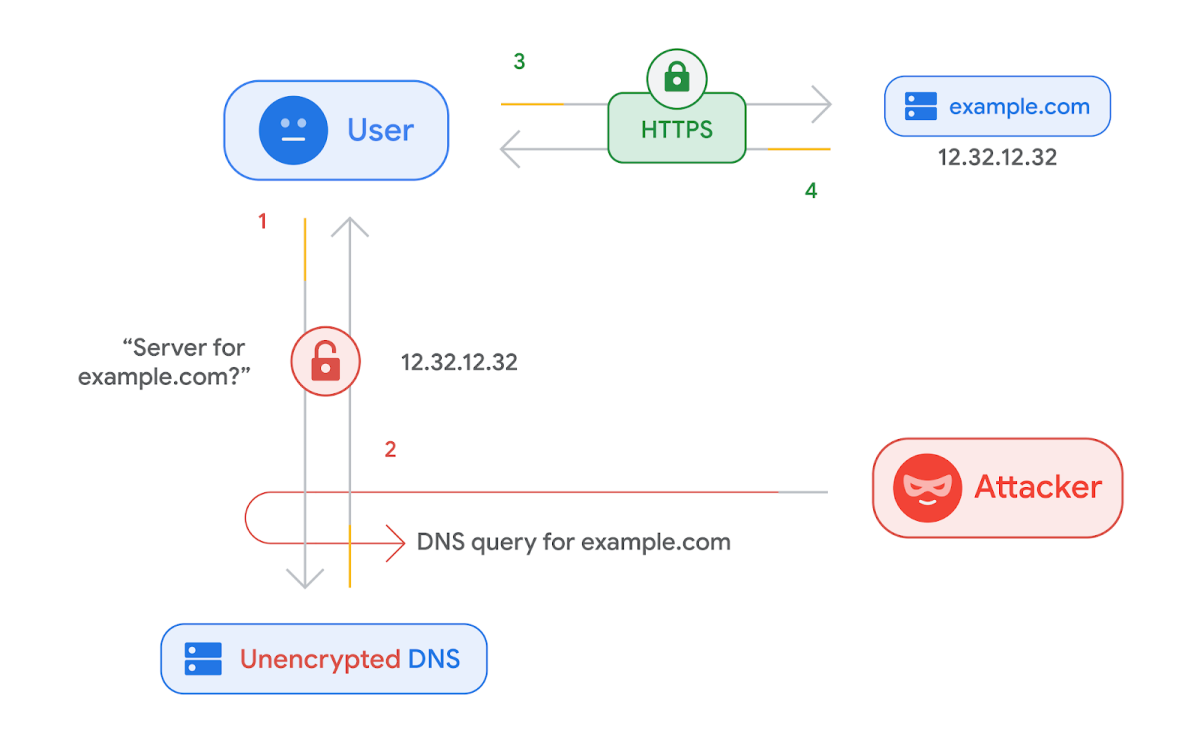
Google Chrome comes with its own DNS client that can sometimes override the DNS server you have specified at the system level.
For example, if you are using a service like NextDNS, you might notice this behavior. So how can you disable it?
Indeed, Chrome introduced a feature called DNS over HTTPS (DoH) a few years ago. This means the browser can directly query its own DNS resolvers (such as Google, Cloudflare, or Quad9) instead of using the one configured at the system level (for example NextDNS, OpenDNS, or a corporate DNS).
This can be useful for privacy… but problematic if you need to maintain strict control over your DNS queries.
🔧 How to Disable Chrome’s Built-In DNS
Here is how to turn off this behavior and force Chrome to use only the DNS server configured on your computer:
- Open Google Chrome and click the three dots menu at the top right.
- Go to Settings → Privacy and security.
- Click on Security.
- Scroll down to the Use secure DNS section.
- Disable the option With secure DNS, or select Custom and enter the DNS provider you want to use.
Once this option is disabled, Chrome will no longer use its internal DNS client and will respect the DNS configured in your system (whether it is NextDNS, Pi-hole, AdGuard Home, or your ISP’s DNS servers).
💡 How to Check if Chrome Uses Your DNS
To confirm, you can:
- Visit dnsleaktest.com or browserleaks.com/dns to see which DNS resolver is being used.
- Check directly in your DNS provider’s dashboard (for example in your NextDNS account) whether queries are coming from your device.
By following these steps, you regain control over your DNS resolution in Google Chrome and prevent the browser from bypassing your own network rules.
Tip: If you manage multiple computers in an organization, it is also possible to enforce this setting via Chrome policies (Group Policy) for enterprise deployments.
